Contents
- Introduction
- v0.*: Test Beds
- v1.*: Breadboarded Demos and Software Iteration
- v1.5: Optoisolators => MOSFETs
- v2: A Permanent Board
- v3: The Future?
- Apps and Such (#Twitter)
- Practical Uses
Introduction
Web-controlled lights: Who doesn’t need ’em? I’d had my eye on something of the sort when I made the decision that none of the prebuilts available met my needs…I was going to have to build my own.
Specifically, I wanted a couple of particularly hard-to-find features:
- I wanted these to be controllable via a well-documented and easy-to-use API (preferably something fairly REST-compliant).
- I wanted something reasonably unlikely to die when I needed it to work (and I wanted to be able to fix it when it inevitably did).
- I wanted to be able to securely share access with a handful of people, but not leave it wide-open for the internet to abuse.
- I wanted to control not only the standard switched 120v overhead light but also some custom LED RGB lighting.
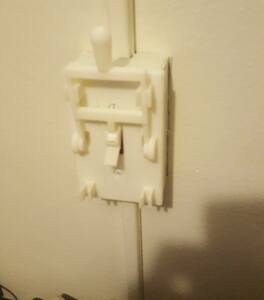
Here’s the switch I was replacing (a pretty cool switch itself):
v0.*: Test Beds
This combination of requirements fairly firmly set me in the category of “If I want it done right I have to do it myself”, so I decided to start experimenting. v0.1 consisted of a small sketch and a single ESP toggling its onboard LED:
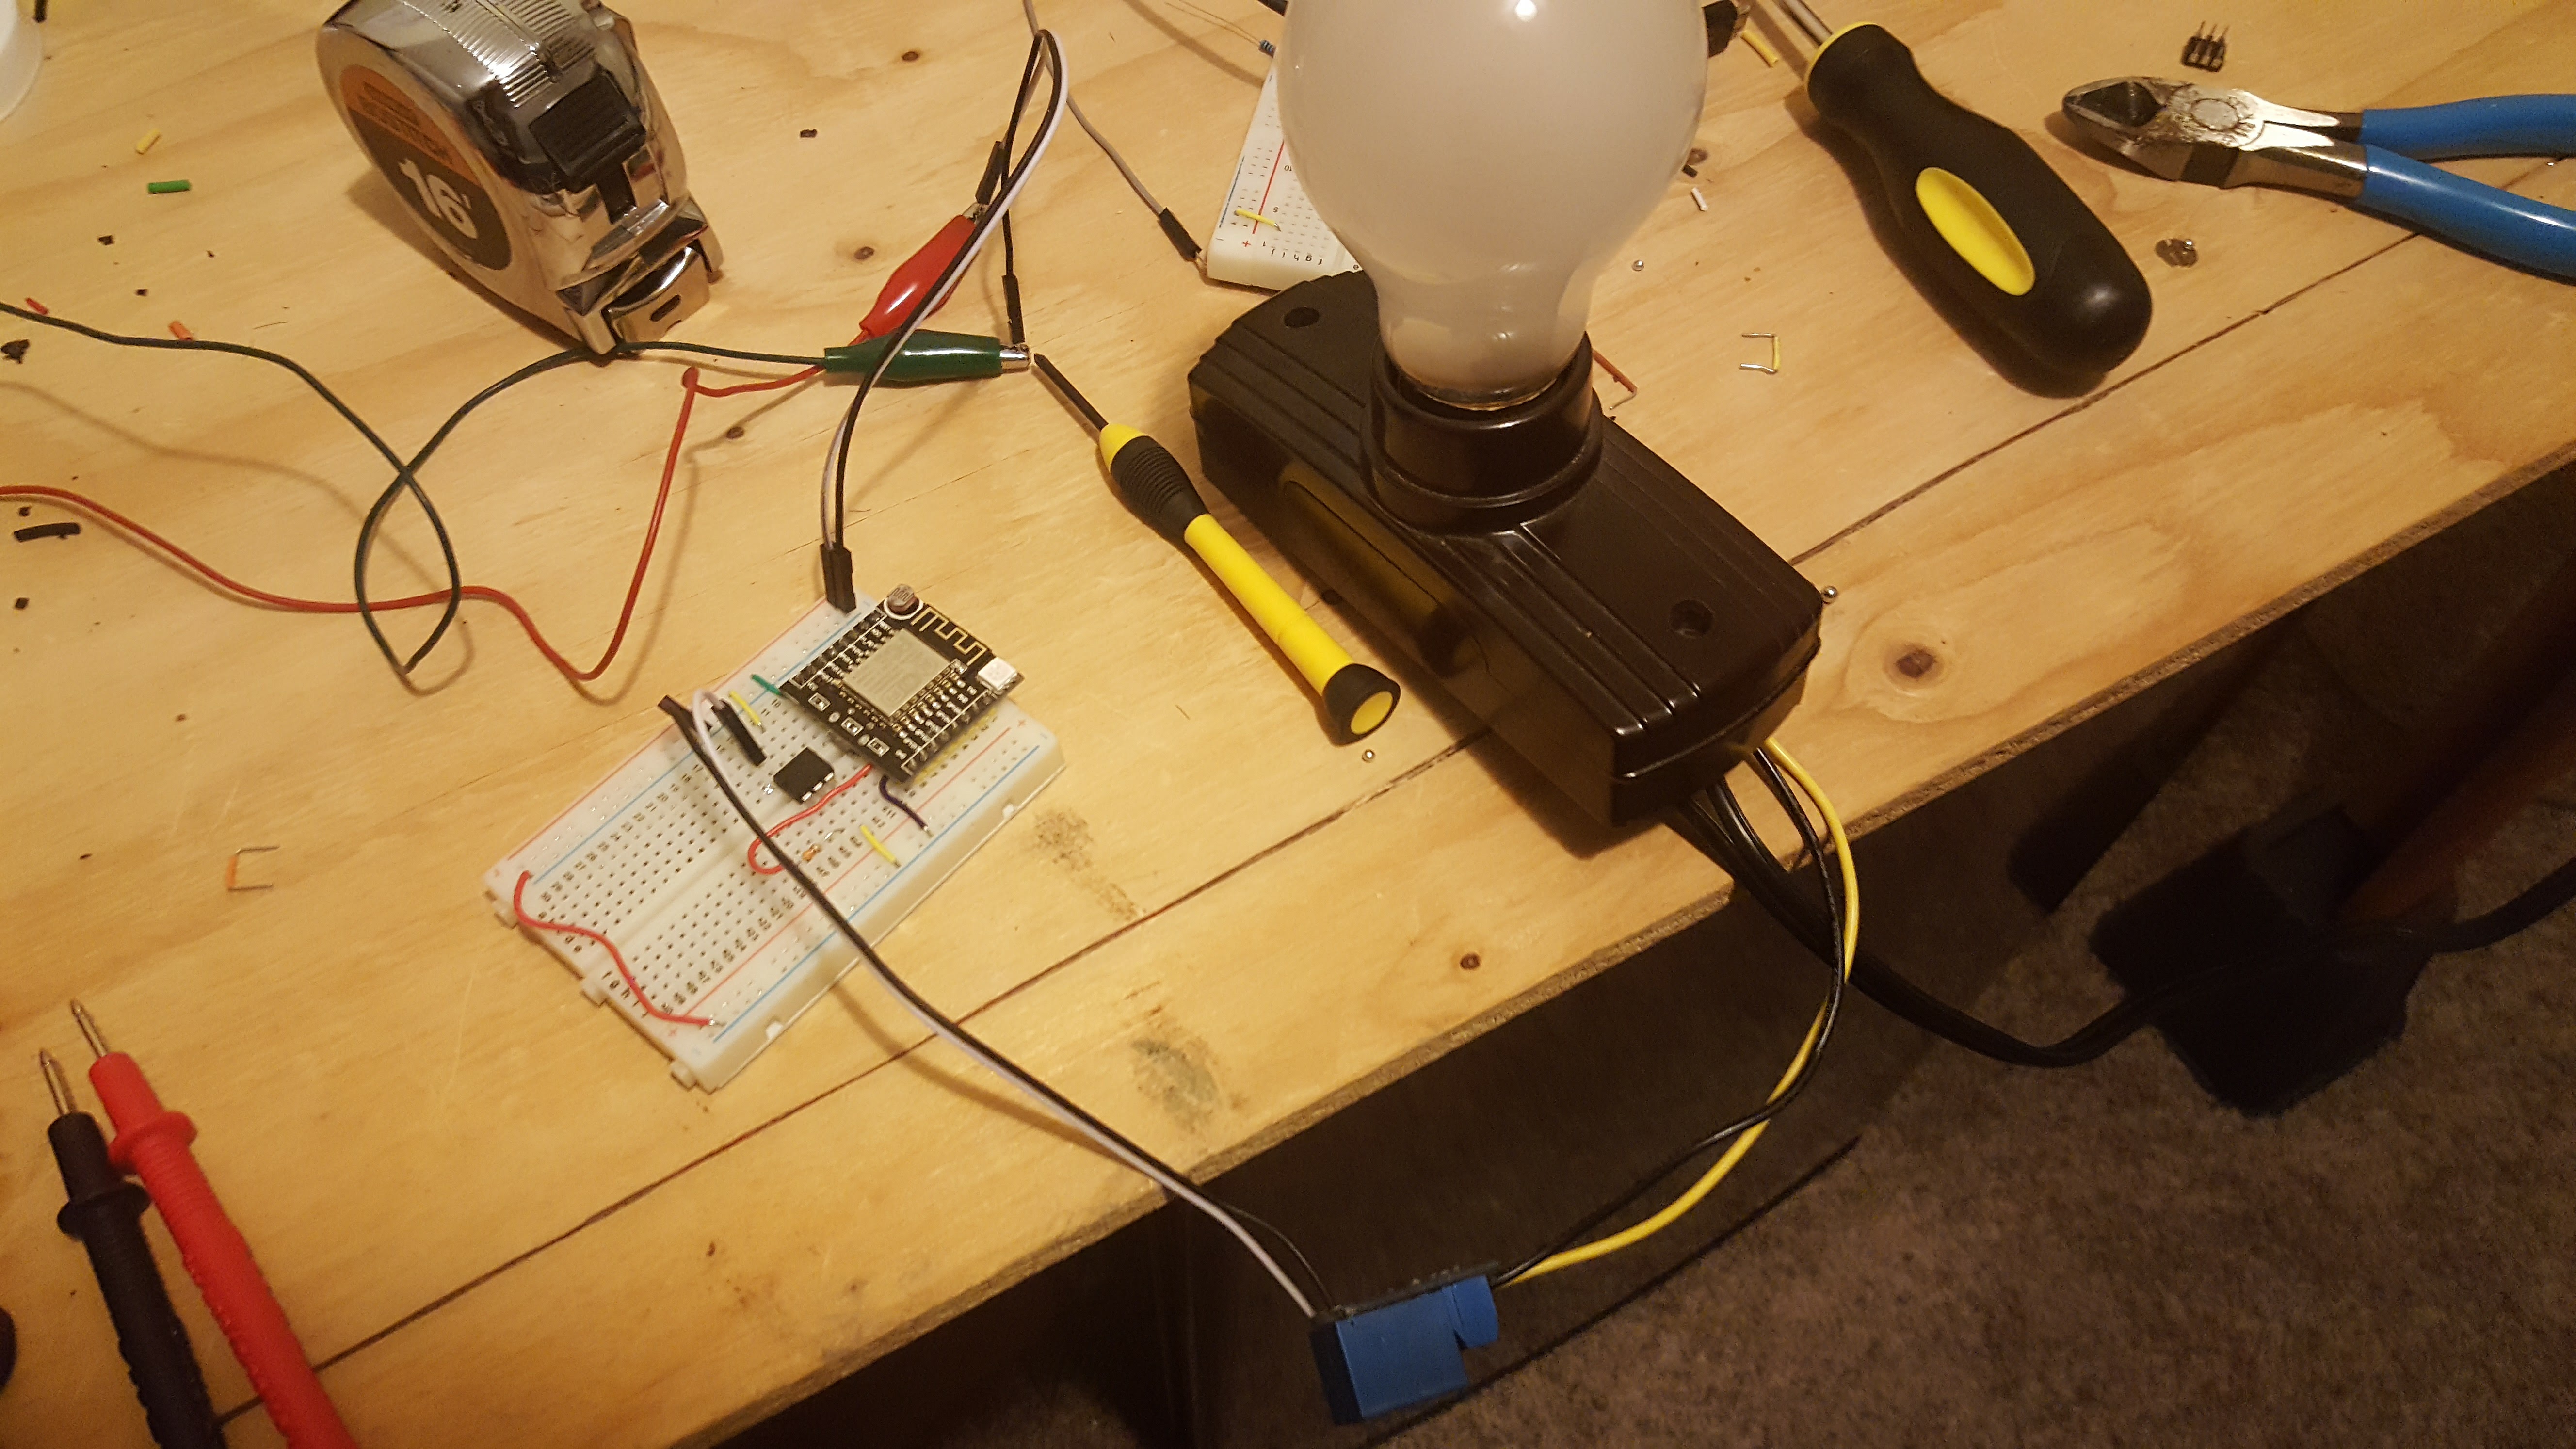
v0.2 threw a breadboard in, and added an actual light bulb for some additional
excitement:
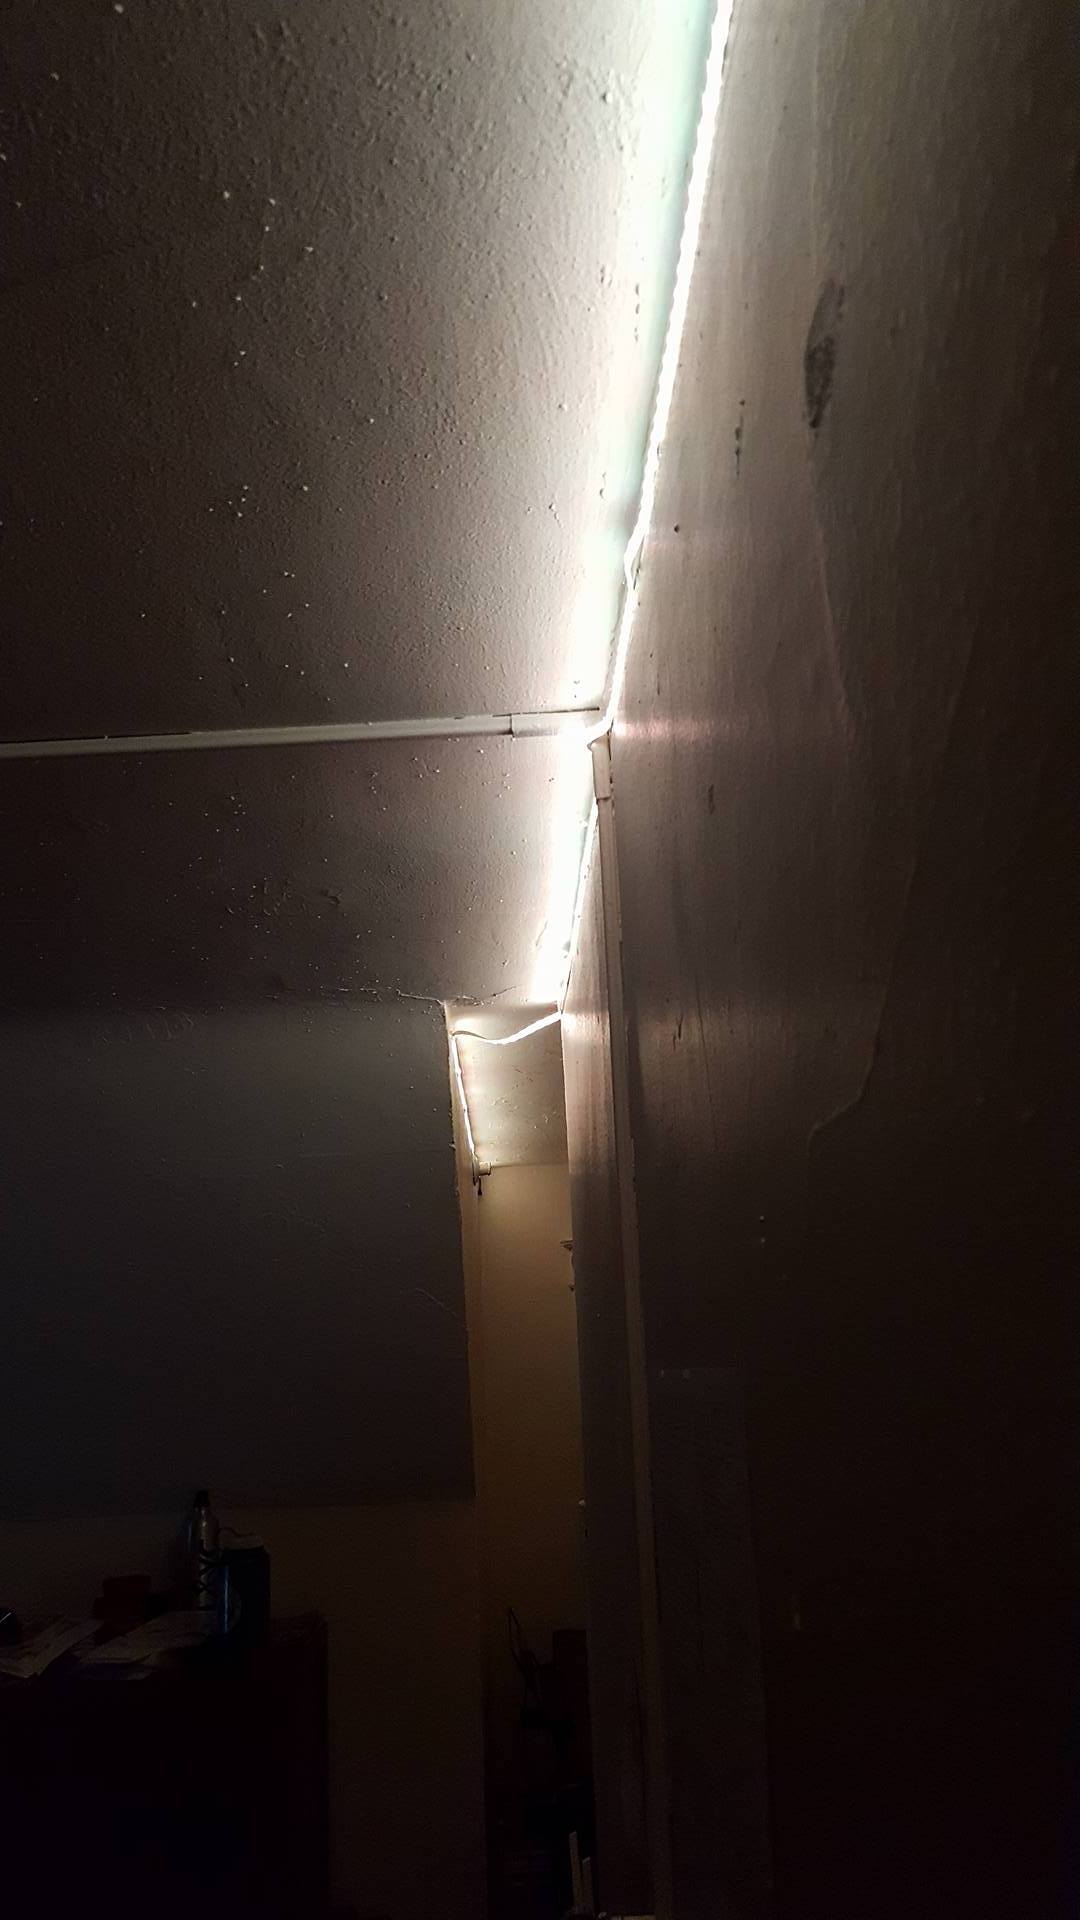
v0.3 added some color: I got my RGB LED strips in and started playing with them. No major surprises here:
v1: Breadboarded Demos and Software Iteration
v0 proved that everything worked…individually. Now it was time to put it all together, and perhaps drop the beta (alpha?) label if everything worked. I do actually have a few pictures from this stage:

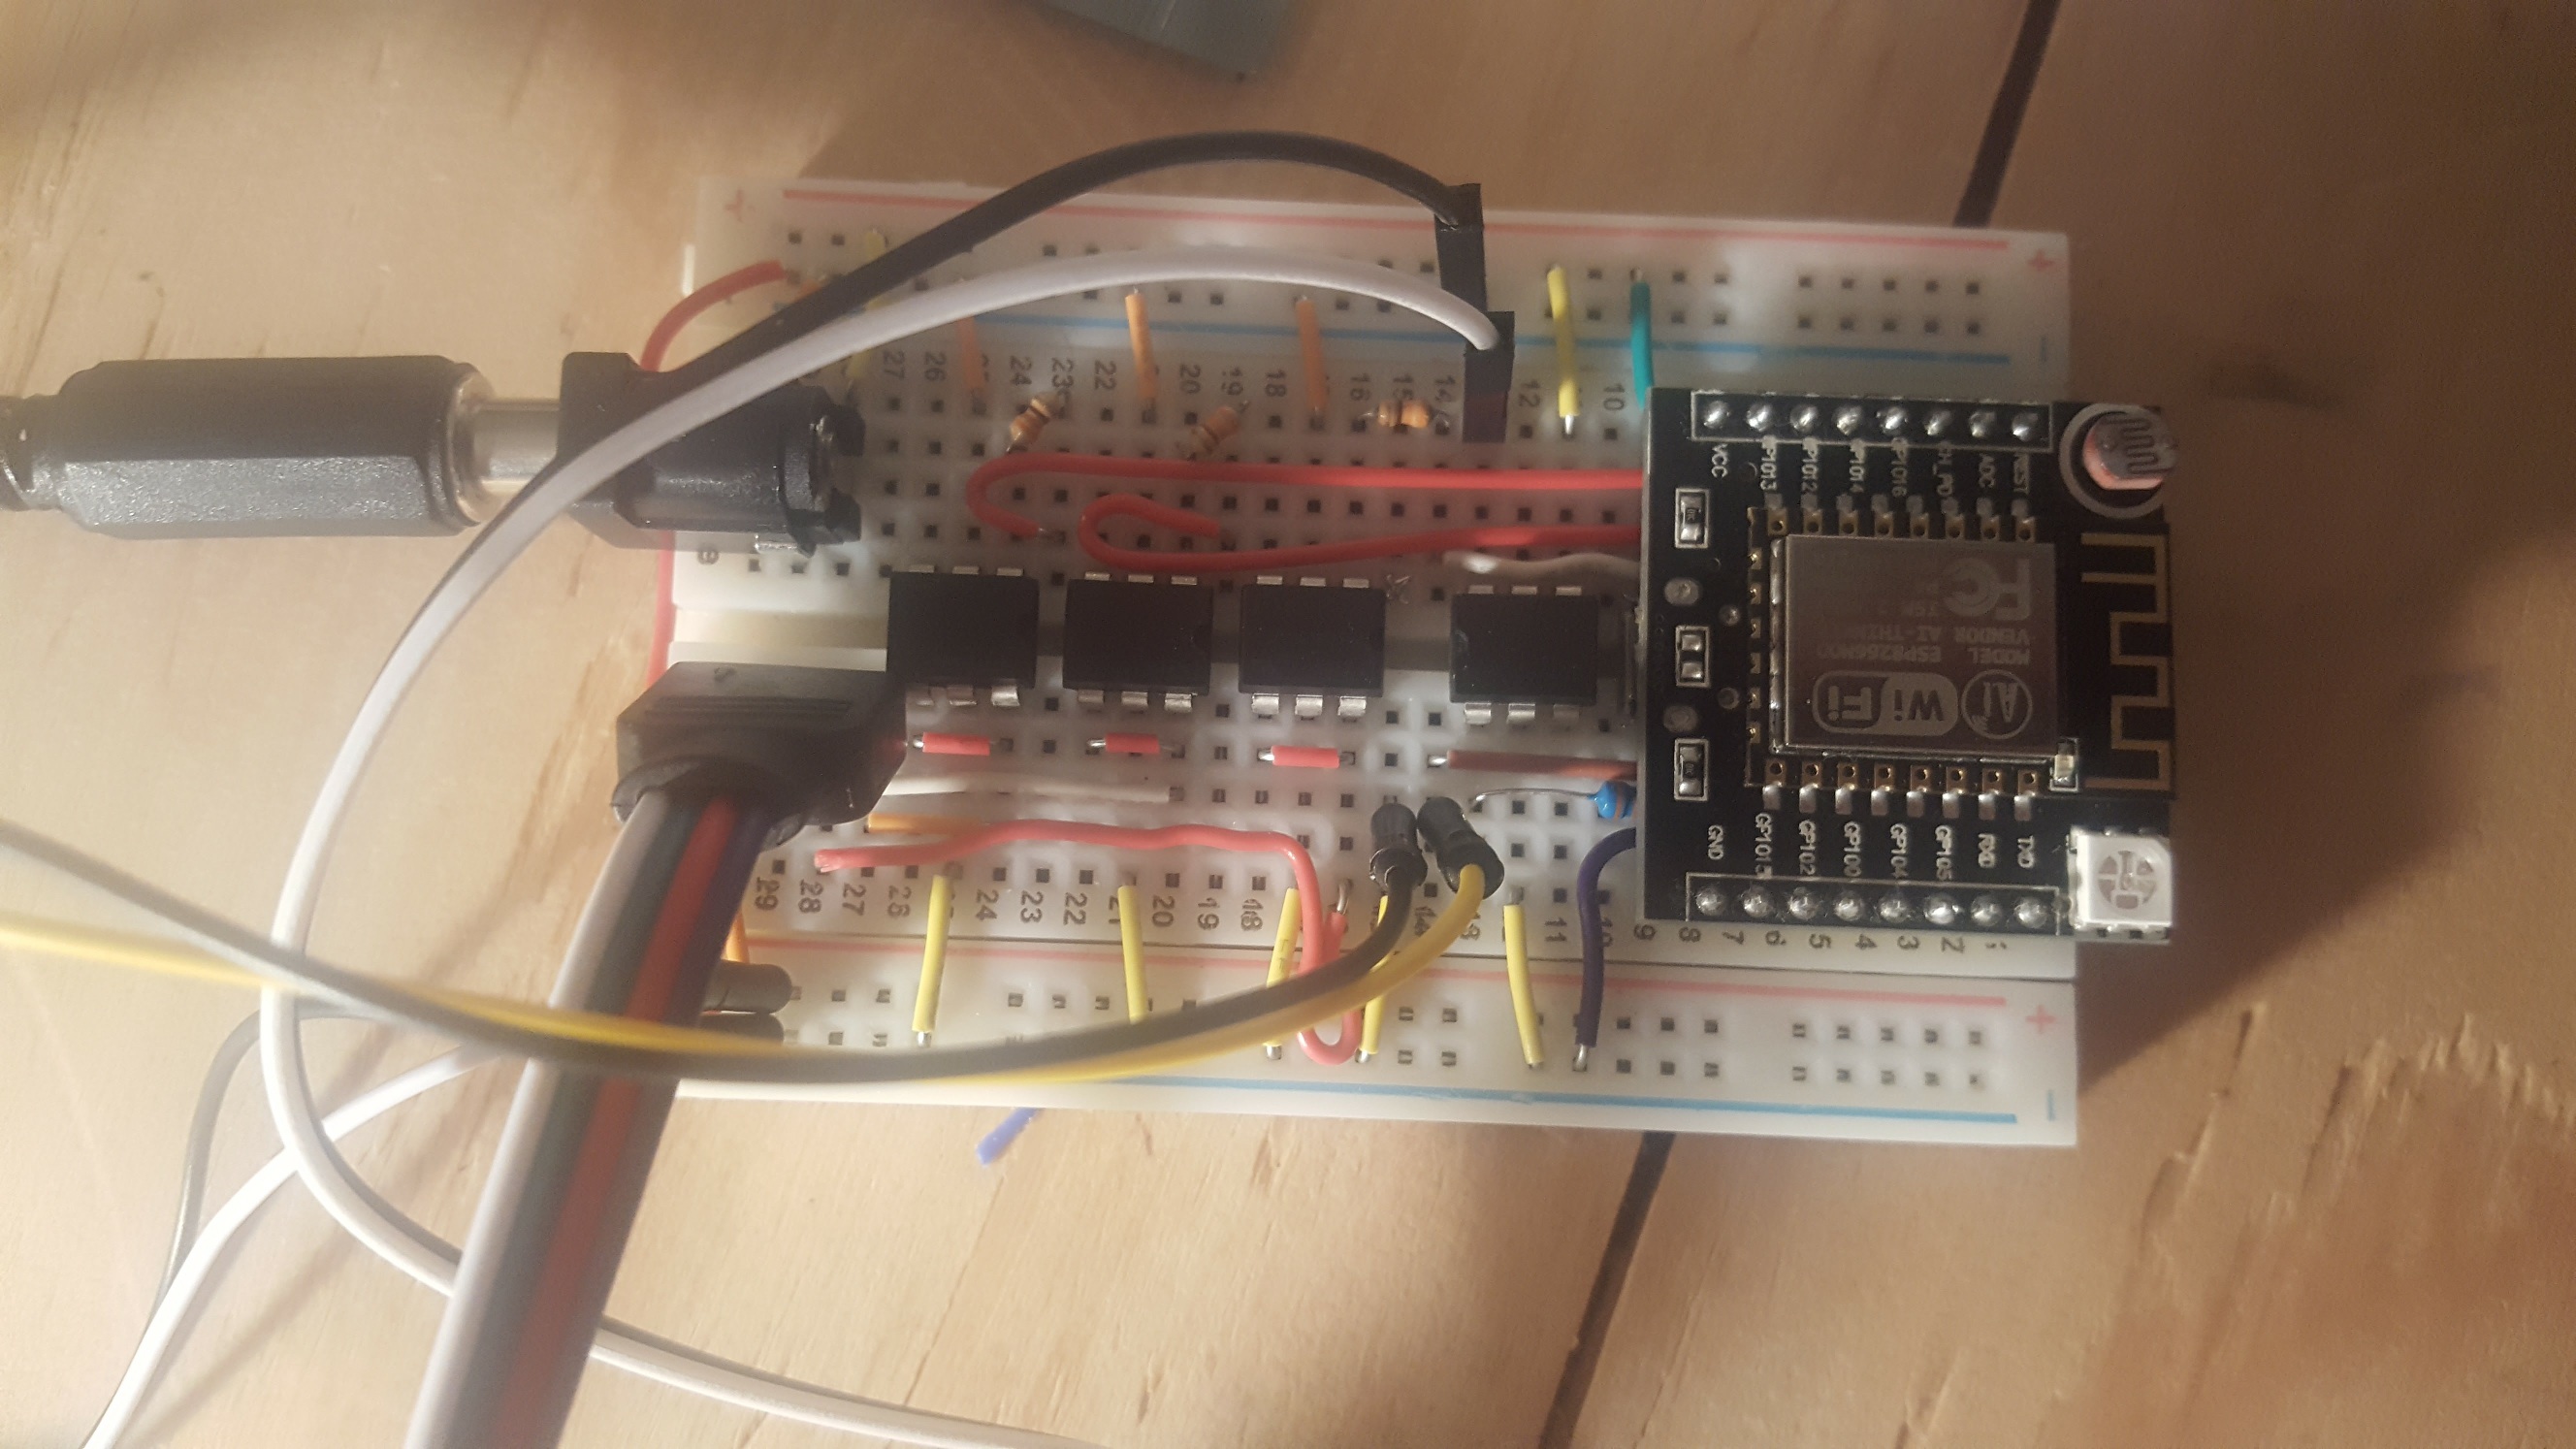
As shown in the breadboard picture, I was using four optoisolators plus an off-camera relay for the control. The ESP sent its 3.3V power to the optoisolators, which passed 12V to the LEDs (RGB, 3 channels) and 5V to the relay (the remaining channel). I did look at getting a 3.3V relay, but those require nearly 100mA to switch, and the ESP maxes out an order of magnitude lower. Future iterations may have me considering a 12v relay to reduce the board’s complexity, but the 5V relays were what I had on hand (and since the current iteration has a 5V bus anyway it wasn’t a big deal).
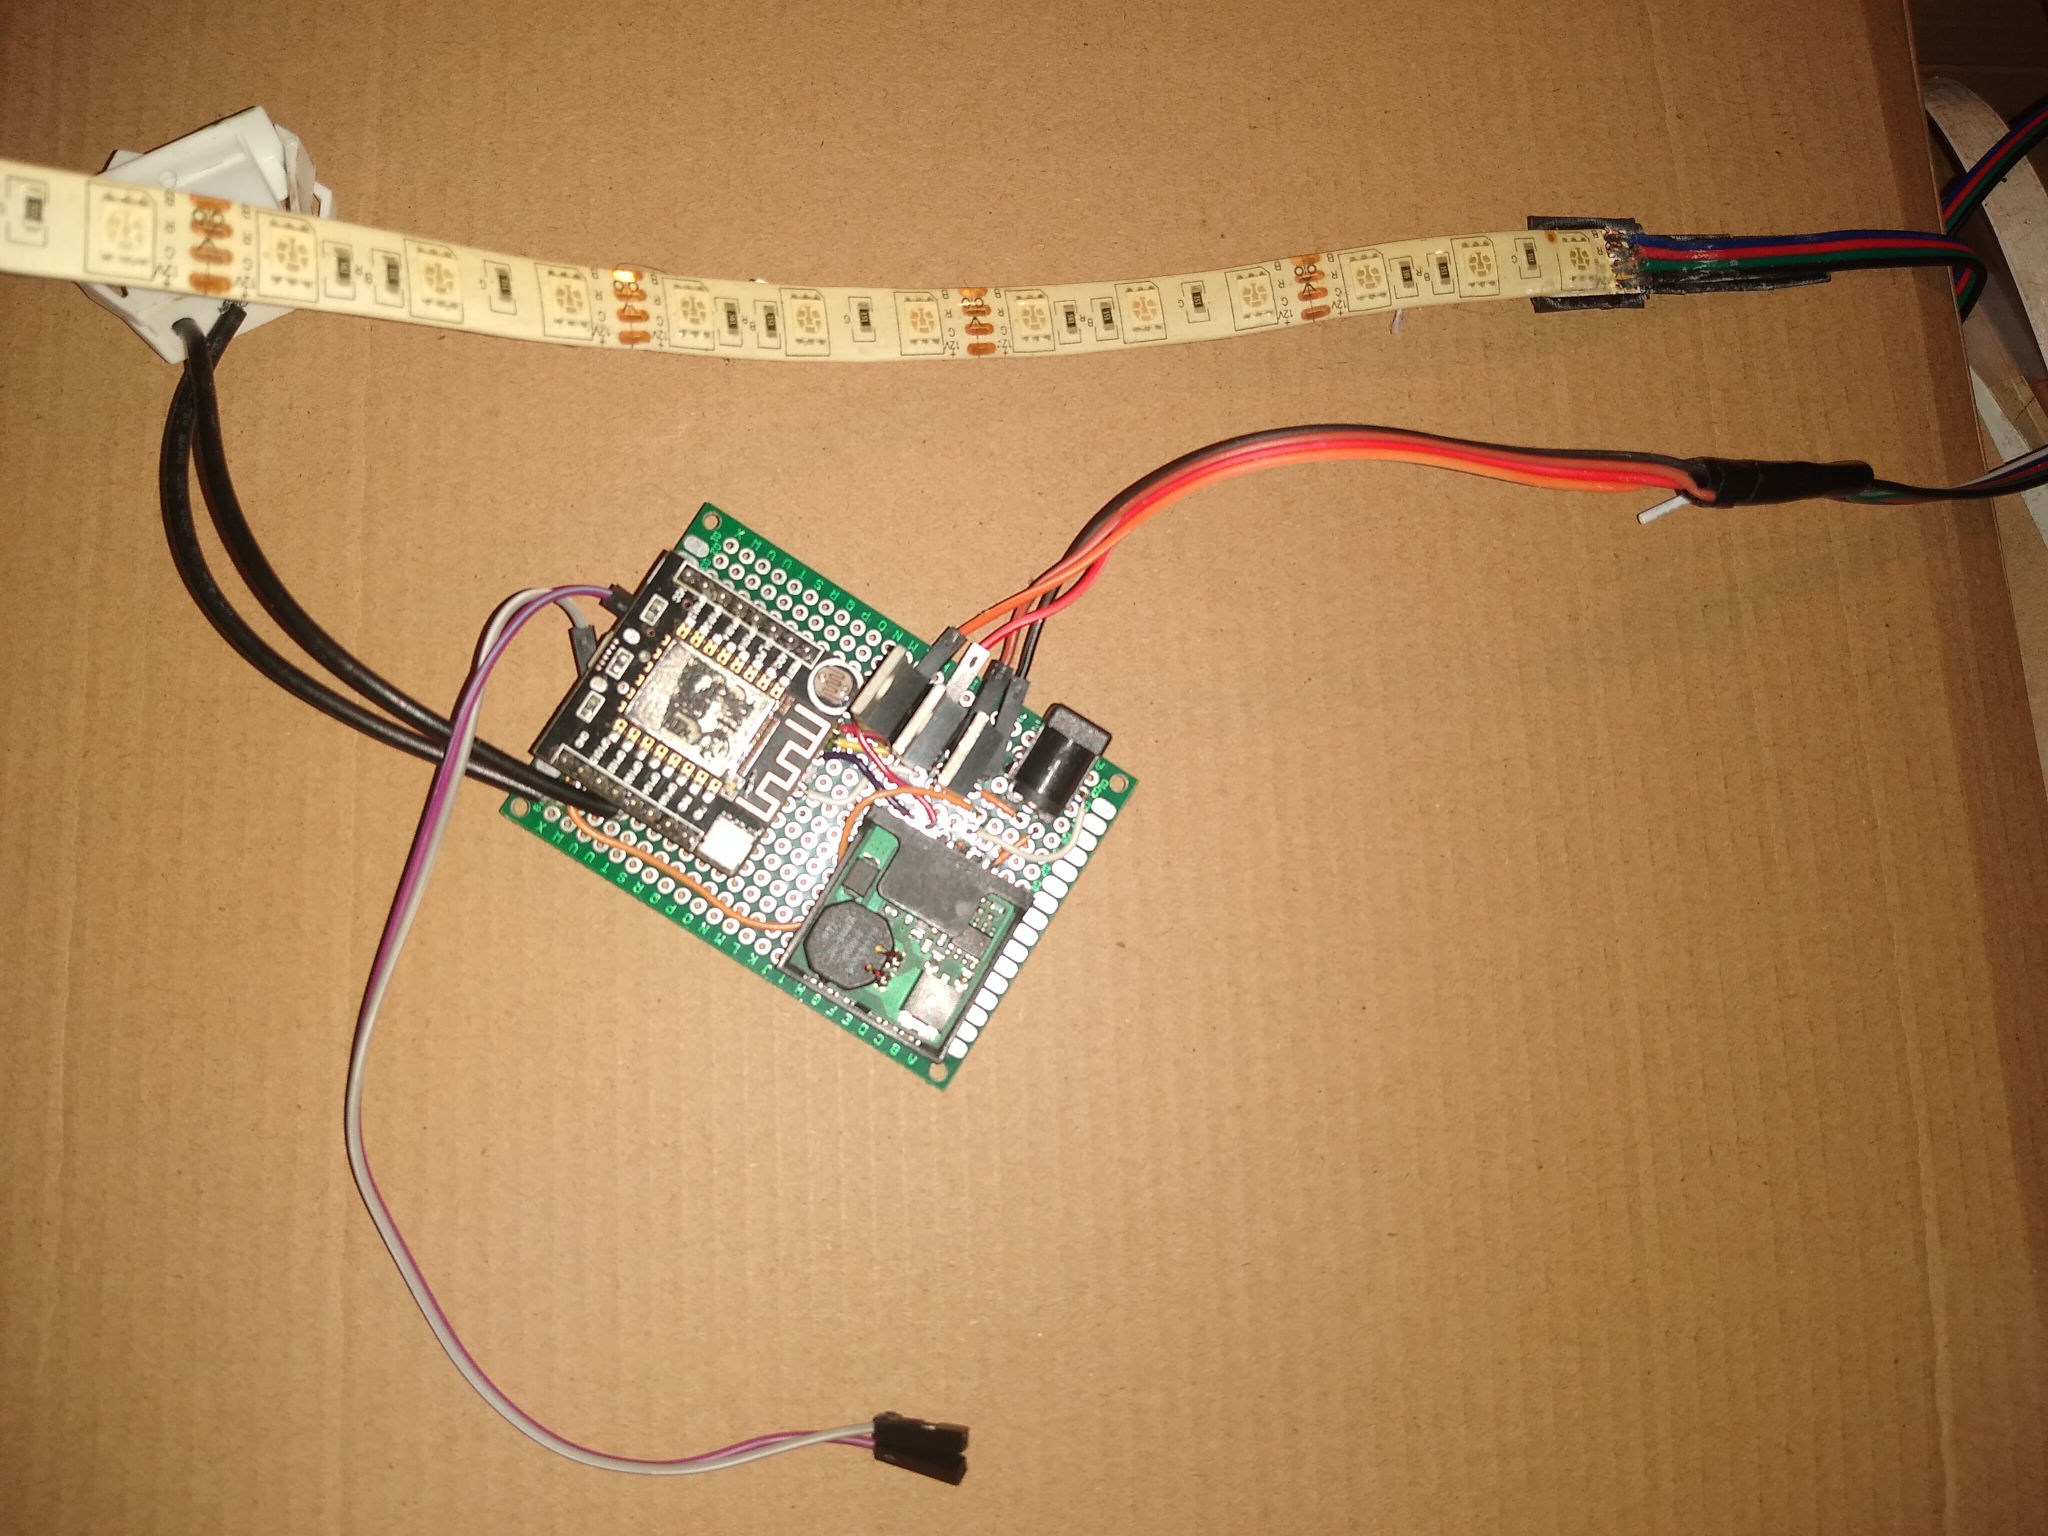
At this point there are still quite a few (literal) loose wires:
- Yellow/Black to the relay, and that to the overhead light
- White/Black in from the PSU, 5V (USB power also used at various points in the design process)
- Barrel jack in from PSU, 12V
- RGB/White to LED strip (common +12V on white, individual switched ground)
The firmware was still fairly basic at this point: one HTML page doing asynchronous POSTs to the ESP when inputs were updated. No validation on either side, no support for multiple simultaneous clients, and no support for viewing board status. Truly the dark ages of HTTP light switching!
v1.5: Optoisolators ⇒ MOSFETs
One notable issue with this design was the use of the optoisolators. True, they worked, but they were clunky, slow, space-inefficient, power-limited, and generally a poor choice for switching any kind of power. The result of this was that anything under a threshold of about 40 (on the 255 scale) wouldn’t be enough to illuminate the lights, and that the illumination after that was quite nonlinear (no graphs, sorry). A change was needed, and that change presented itself in the form of MOSFETs.
I’m not going to go to great length to describe the troubles I went to that all stemmed from not really understanding how MOSFETs (or, indeed, transistors in general) worked, but in the end, the results were very worth it: in half the space and cost I could switch several times the power, and with a switching time of tens of nanoseconds rather than milliseconds. Accurate coloring had been achieved!
v2: A Permanent Board
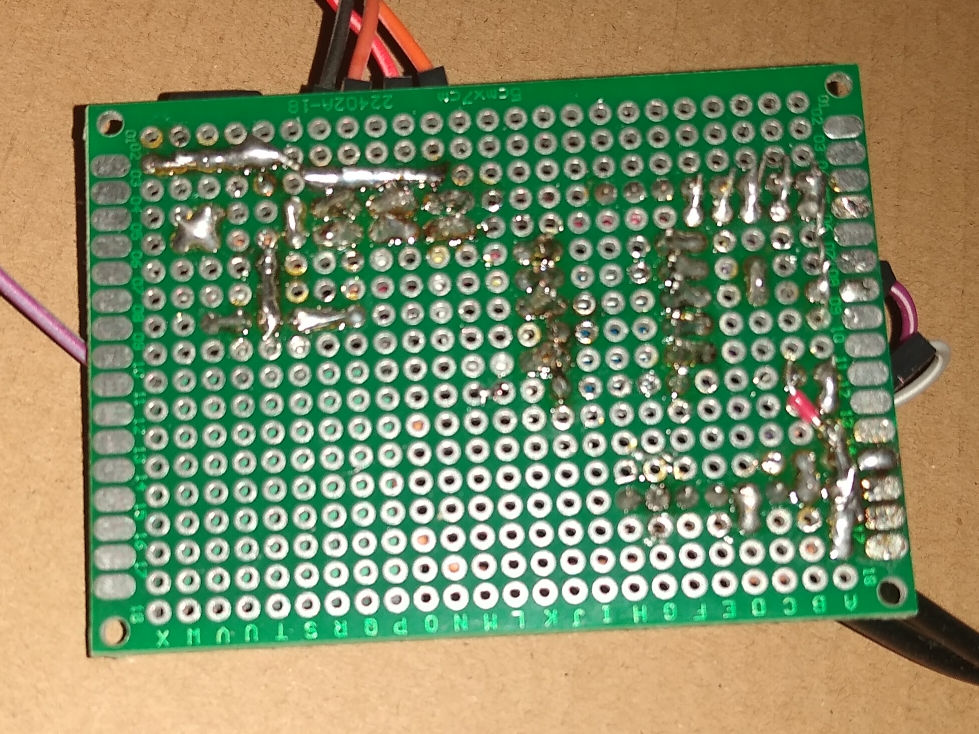
With everything semi-reliably working, it was time for the next (major) step: permanent assembly! For this I used a piece of perf board, with some female header pins to keep my ESP removable (for programming, debugging, and reuse—gotta keep those $3 parts from becoming disposable!).
After a few iterations of how I’d want this laid out, and a few issues with voltage compatibility (eventually resulting in me having to hide a logic level converter under the ESP to deal with these issues, but more on this later), we had a board!

v3: The Future?
I still have a fairly extensive list of modifications to implement. I’d like to get a proper PCB built and assembled, and eventually make it somewhat reproducible so I can make a handful if I decide.
As mentioned previously, I’ve had issues with the handful of different voltages I’ve been using. The board accepts a 5V USB input, but runs on 3.3V and doesn’t have 5V tolerant I/O. The MOSFETs I used require a 5V input to operate, which left me using a logic level converter. The relay also ran off 5V, but the logic level converter didn’t provide enough current so, again, I ended up using an optoisolator. All said and done, I had a 12V supply going directly to the LEDs and a 5V DC/DC converter (500mA). The 5V supply powered the MOSFETs, the relay, and fed power through a second converter to get 3.3V for the ESP. All in all, quite a mess. Looking forward, I’m hoping to remove the 5V parts entirely, running on 3.3V for the ESP and some new logic level MOSFETs, and 12V for the relay.
I’m also looking to design this into a nice project box that can be closed up and have only the couple of plugs going in and out, and of course keep it as compact as possible.
Apps and Such (#Twitter)
One of the things I enjoyed most about this project was that it gave me a neat hardware platform to do some software hacking against. This has been my second program after the obligatory “Hello World!” in every language I’ve tried over the past year or so: Will it turn on my lights?
So far I’ve implemented:
- an HTML client
- a JavaScript client
- a Java client
cronjobs running against the API- “OK Google” support (before the days of Google Assistant)
- A twitterbot with @swftbot support:
— SwiftBot (@swftbot) December 12, 2016
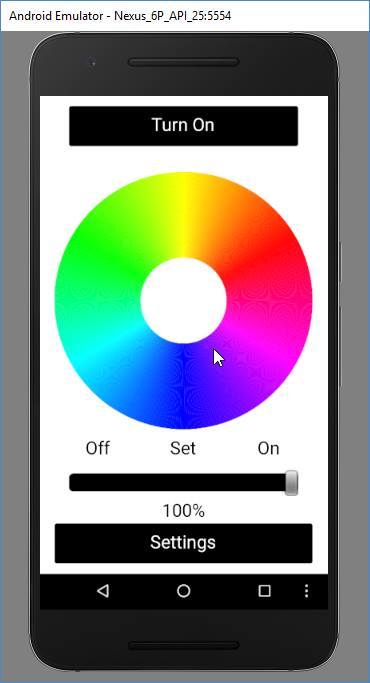
And on top of that, I’ve had a few friends do really cool things with the API. Eric Villnow built me a nice Android app:
and another friend wrote a Visual Basic app which will, among other things, send me morse code message at crazy hours of the night:
Practical Uses
But even after all this, I hear you say: “But Chandler! I have lived all my life in the dark ages of having to flip switches myself! Why should I change my ways?” Besides the obvious cool factor and the previously mentioned software opportunities, I found the light switch reasonably handy for a few other things:
- Education: It’s an easy illustration about IoT devices and what they can do. My major requires me to take Public Speaking, and one of the speeches I gave was demonstrating the utility (well, sorta…) of a web-controlled device. I was well aware that people were starting to drift off—while I find it fascinating I know I’m somewhat outside the norm on this. However, a room-full of wandering eyes were quickly focused back on the talk when I was able to pull up a live demonstration of turning a light on from miles away. A small victory, but a victory nonetheless!
- Integration: This is where some of the coolest IoT applications lie. Currently I have the lights set up with my alarm to wake me up in the morning. With apps like IFTTT the possibilities are endless.
- Saving time: Well, no, not on the whole, but it does have a few other useful tweaks. The lights come on automatically when I enter the room and turn off when I leave. I can “OK Google” them on and off. It saves a few steps…once in a while anyway!
- Smarter lighting: It automatically dims the lights to a dull red at bedtime, and when I turn the lights on in the middle of the night it doesn’t turn them on full blast by default.
- And last but very much not least—it’s a great talking point!